


Fryrender clock by Isaac Mas
Fryrender clock
"Fryrender clock " by Isaac Mas
Reference images
Hi people, in this tutorial I will show you a few tips to create a clock in 3d max and render it with Fryrender. Then I will show you how to apply fry materials and how to make the light setup. Finally, I will show you how to work with the tonemapping and layer blending controls.
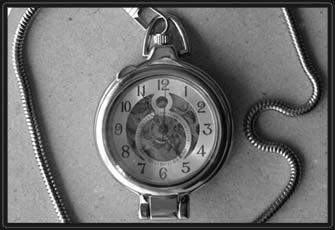
REFERENCE IMAGES: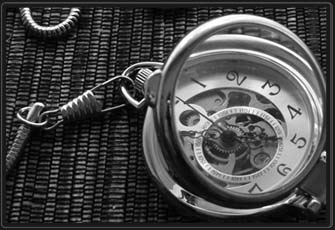
These two images will serve us as a start point.
MODELING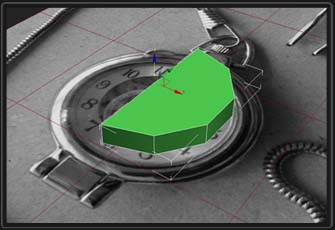
Start with a cylinder and change the number of slices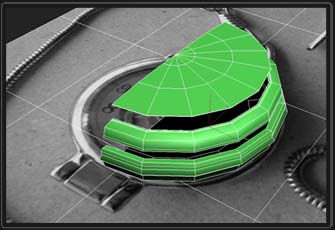
Convert to Editable Poly and create the three outer parts
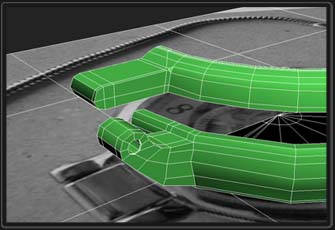
During this process we will use symmetry and meshsmooth modifiers to see the mesh result
Before we start with the interior, we will link the three green objects with a helper to control their position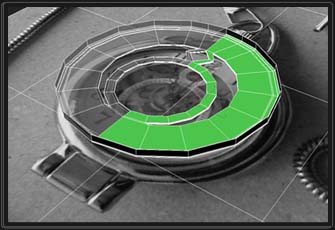
For the interior part we will do the same
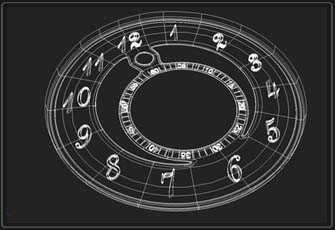
The numbers are a text spline with an extrude modifier, and then an array over the clock's surface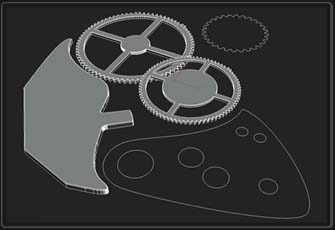
The inner gears have been made with splines and a bevel modifier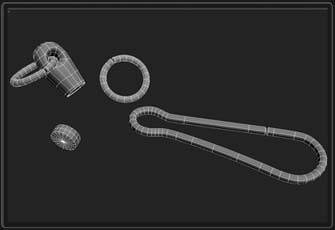
To make the chain, we will prepare its parts individually
Use spline IK Solver to link the hoops of the chain, and obtain a custom chain the path
Materials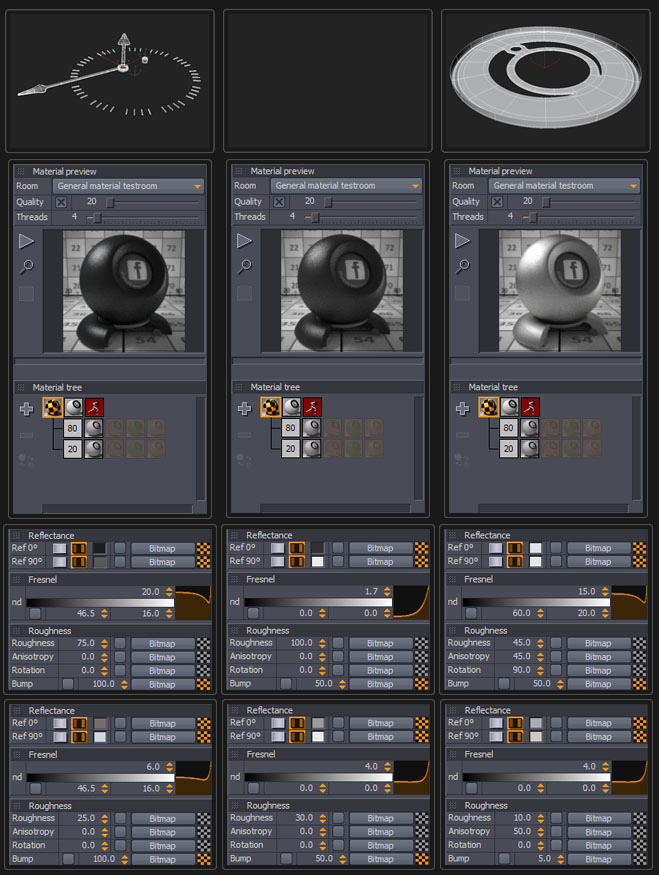

LIGHTING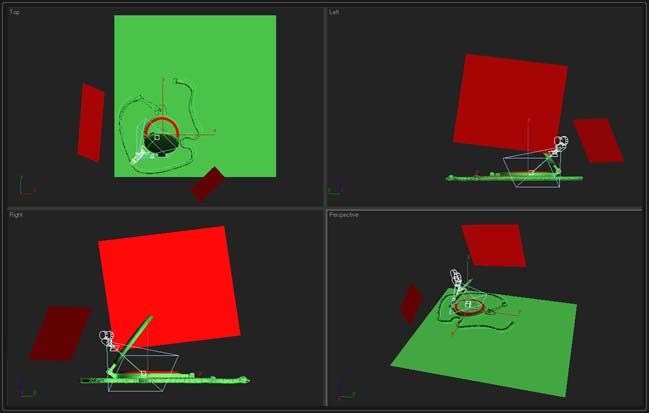
The light setup is very simple. With the same material emitter, two planes and other emitter objects inside the clock we will be able to obtain very diferents results in layer blending afterwards. We will apply a fryrender object modifier to each light source, in order to control them via Layer Blending
To illuminate the scene, we will use an environment map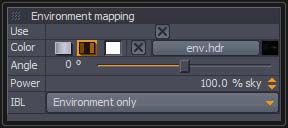

RENDER
During or after the render process we may adjust the emitters detached into layers with the fryrender object modifier, using Layer Blending. We can change the intensity of every emitter and/or change its RGB hue according to our criterion
Finally add and adjust vignetting and glare effects
This is all, I hope it will be useful to you
(c) Isaac Mas, www.oellas.blogspot.com
Click for viewing tutorial on free3dtutorials .