


Creating dirty textures by Wojtek Buddy Starak
Creating dirty textures tutorial
Hi! This is my second tutorial, this time I will talk a little about making textures dirty, more intresting, atmospheric etc.
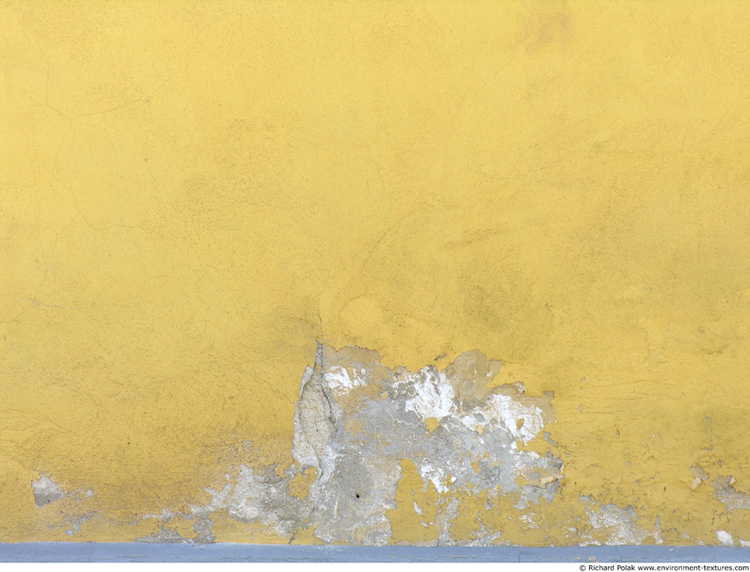
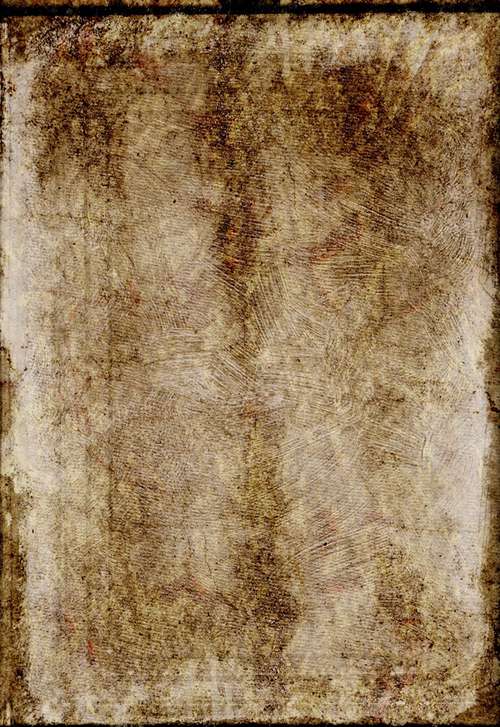
Here’s the original wall texture which I wanted to turn into something in style of Silent Hill series. Ofcourse, as always I picked up a reference from www.environment-textures.com -best source for textures IMO. Point of this tutorial/walkthrough is to let know about blending modes and that You should really try using them. I mostly used on that wall “overlay” blending. Rest of them are also really usefull, like Soft/Hard Light or Multiply, there’s no sense in describing each, the best way is to test it yourself.
(original files are around 3000x2000)
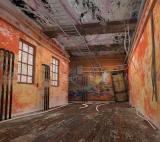
And by editing it a little bit I got:
How I achieved this:
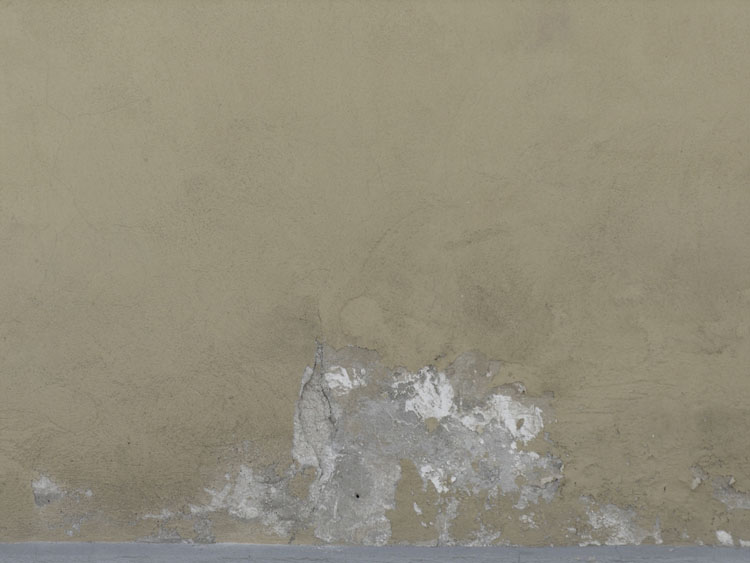
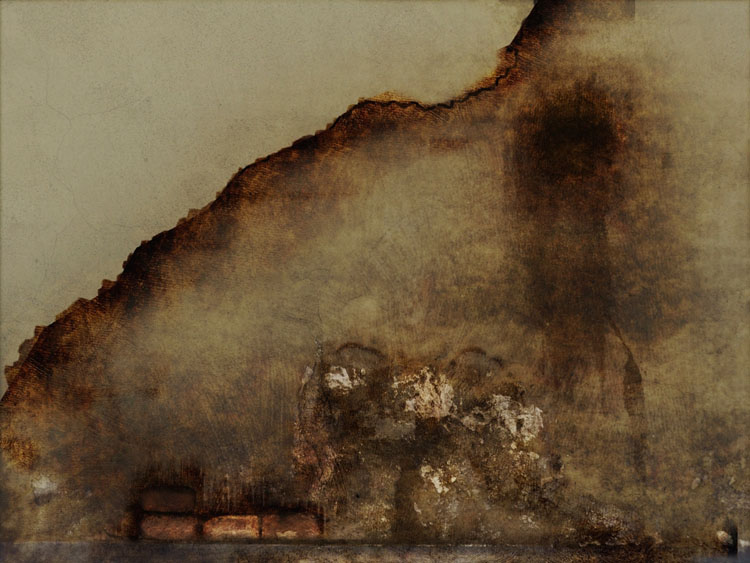
I used for it:
and,
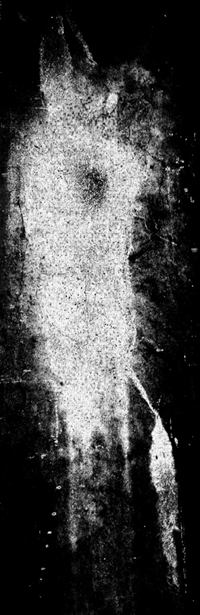
(both found somewhere on net, if anyone knows who’s owner of them, let me know).
Using “Clone Stamp” tool I painted lower part of the texture on layer with overlay blending mode, used burn tool&brightness/contrast to get better look.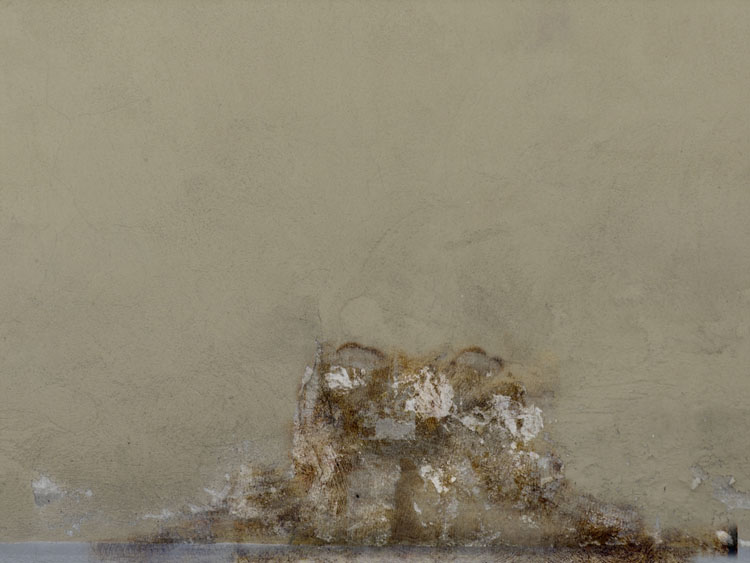
Then I added few bricks on bottom, also some dirt.
Using same method I painted (still using clone stump&overlay blending) a round spot near right top corner on one layer, second layer had this mask:
to copy image into layers mask You need first create a mask for the layer, then switch to “Channels” tab and make sure that **Layer name** Mask is selected and there’s an eye icon on the left in square, next simply paste image (ctrl+v).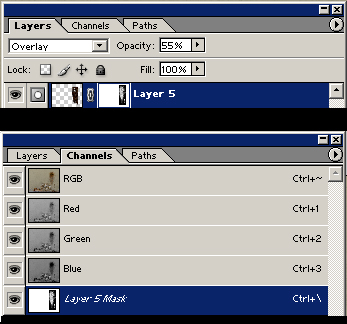
Now everything you paint on the layer will be masked.

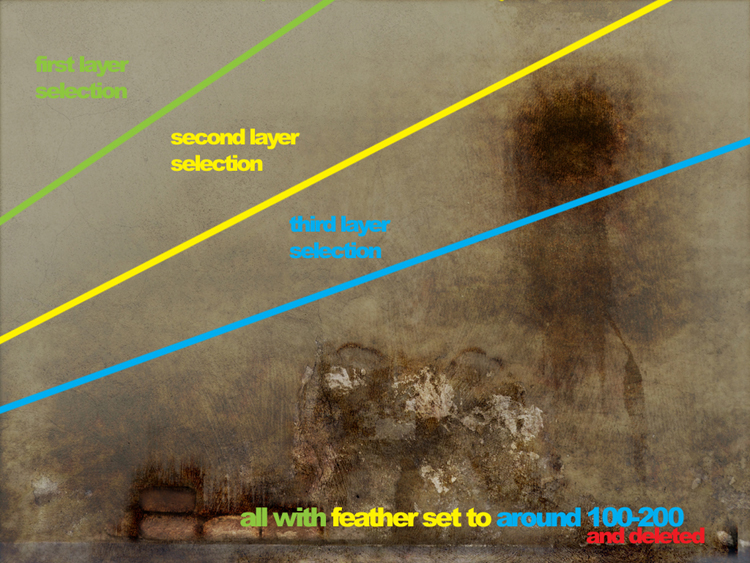
Next step was to make whole texture keep same coloristic, I took my dirt reference rotated 90 degree clock-wise and stretched on whole texture, changed blending to overlay, then copied the layer three times. First and Third Layer have been guasian blurred on settings around 5-6. I also changed opacity of those layers, first was 25%, second 50%, third 75%. To archive a nice blend I selected some parts of them with polygonal marquee tool and after using Select->Feather I deleted selection, it resulted in soft edge deletion.
What I added to it next was pretty much the same, few layers with guassian blurs, overlay blendings, etc etc:
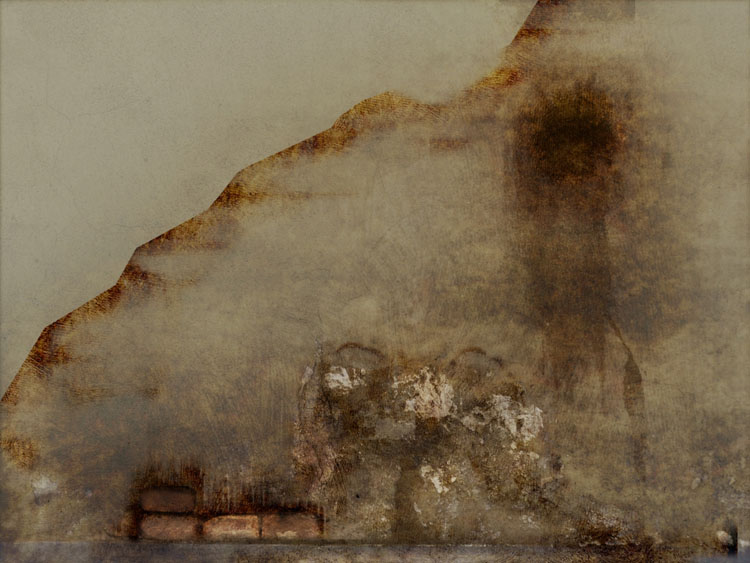
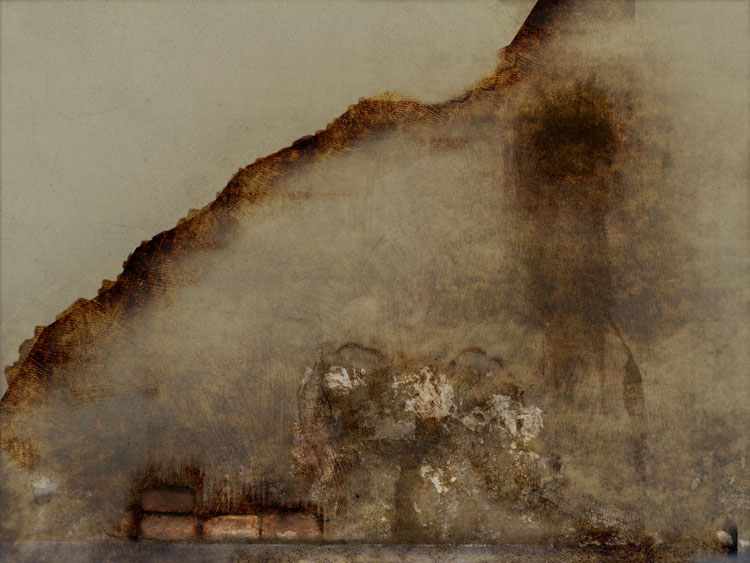
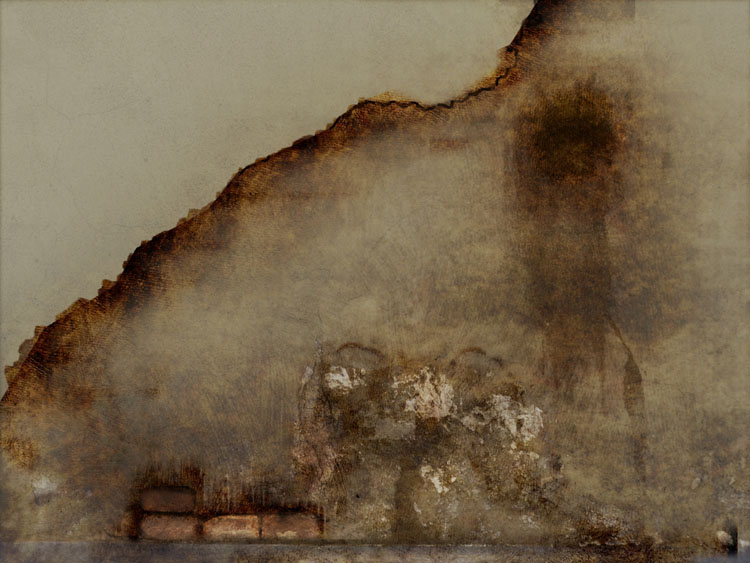
Last step was to play around with Brightness/Contrast, final product:
resized to 1024 x 768 from 3264 x 2448
Here are renders of the texture with normal&specular maps: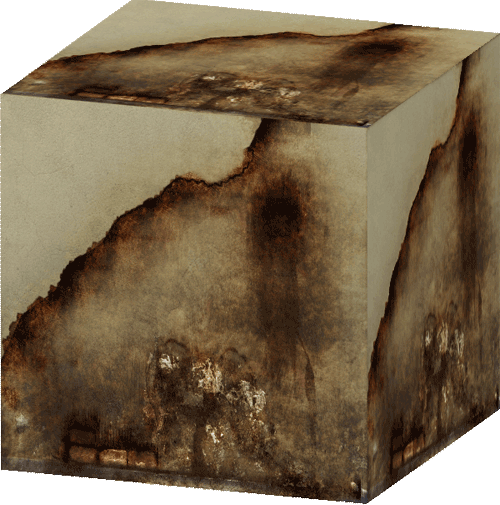
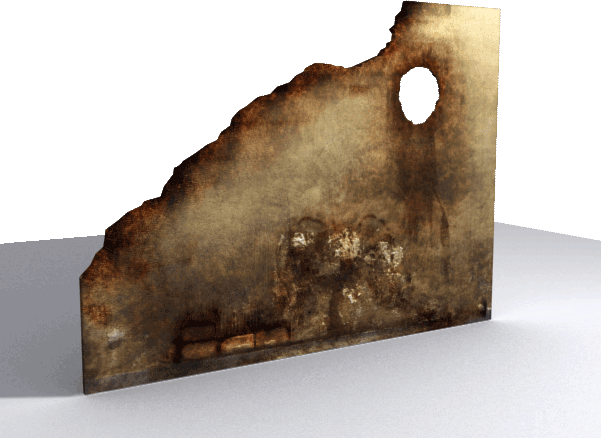
(added a hole to make that round splat make sense;))
I hope You enjoied that tutorial, feel free to e-mail me about what You thinking about it.
Here’s a few minute work thingy that I did using various photos (road sign, meat, fence, metal ladder) and just changed few layer blending modes, I’m not sure what it is but it gives idea how usefull blending modes are.
(c) Wojtek "Buddy" Starak, buddy_gman@hotmail.com
Click for viewing tutorial on free3dtutorials .